
If your facility feels cramped but moving isn’t in the cards, a mezzanine can feel like a magic trick—creating a whole new level of usable area inside the volume you already own. Yet a solid mezzanine floor installation isn’t magic at all; it’s careful planning, clean engineering, and disciplined execution. Below is a human-readable, detail-rich walkthrough that goes beyond the brochure and into what actually matters.
What Is a Mezzanine and When Does It Make Sense?
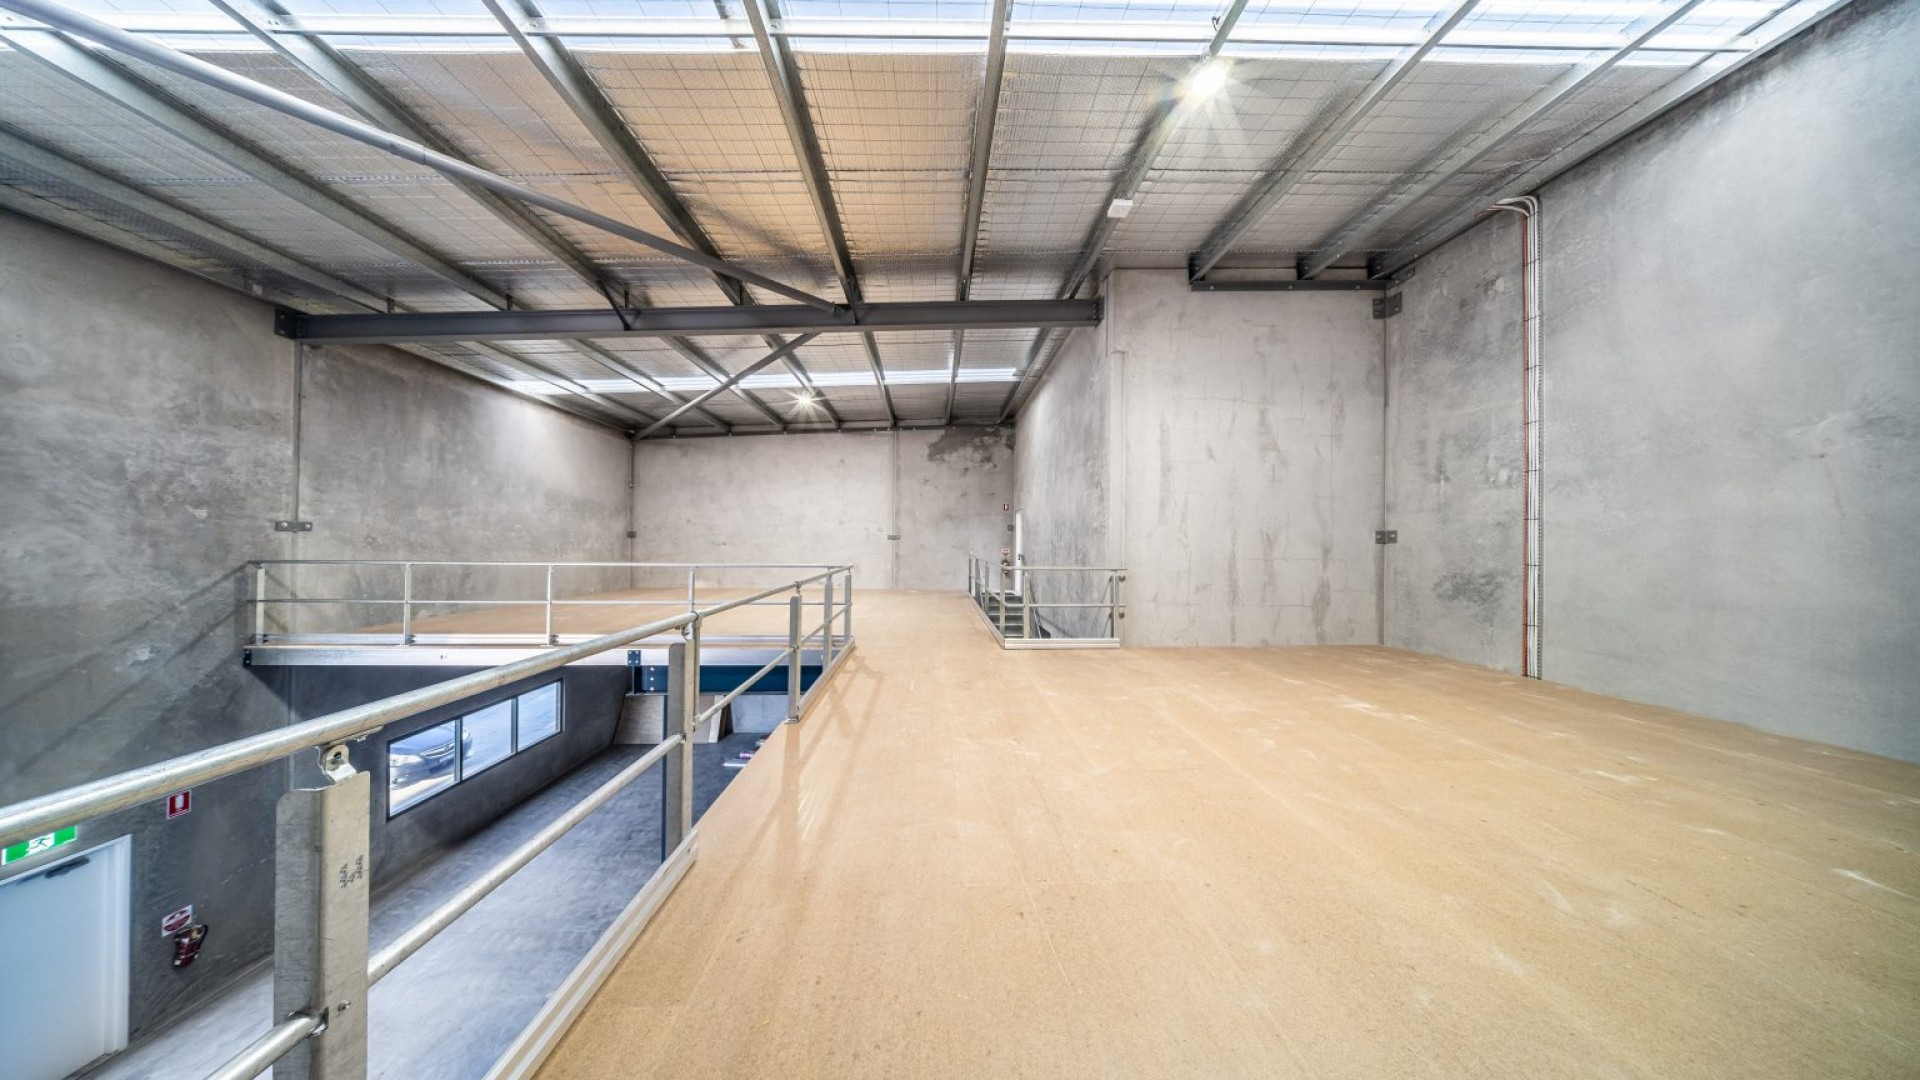
A mezzanine is an intermediate floor built within the clear height of a building—above the main floor, below the roof—without extending across the entire footprint. Think of it as vertical real estate: you’re capturing headroom to add storage platforms, light manufacturing cells, offices, picking lines, or viewing galleries. Mezzanines shine when you have:
-
Sufficient clear height (often 5–7 m or more) to maintain safe headroom above and below.
-
A growing operation that needs square meters fast—without the expense and disruption of relocation.
-
Loads that can be isolated on a column grid rather than spread evenly like a full second storey.
Common use cases include e-commerce pick towers, spare-parts storage, QC labs above production, and office pods overlooking warehouse floors.
Design Fundamentals: Loads, Grids, and Codes
Before you sketch a staircase, you’ll define loads, layouts, and compliance.
Structural loads:
-
Dead load (self-weight of steel, decking, and finishes).
-
Live load (people, pallets, carts, racking).
-
Point loads from pallet jacks or shelving legs.
-
Impact and vibration if forklifts, conveyors, or machinery interact with the structure.
Column grid and framing:
-
Freestanding steel is most common: hot-rolled beams or cold-formed sections supporting joists, with bolted connections.
-
Column spacing (e.g., 3–6 m typical) balances material cost, headroom clearance, and aisle flow.
-
Base plates, anchors, and footings must match slab capacity; weak slabs may need isolated footings or pile caps.
Regulatory and life safety:
-
Egress: stair count, width, and travel distance; handrails and guardrails with compliant heights and infill.
-
Fire protection: sprinklers above/below, smoke detection, emergency lighting, illuminated exit signage.
-
Headroom: maintain safe clearances both under and on the deck.
-
Depending on jurisdiction, mezzanines can be limited to a percentage of floor area and must remain open to the space below to qualify as “mezzanine” rather than a new storey.
Choosing Your System: Types, Decking, and Access
Mezzanine types:
-
Freestanding (structural steel): Fast to install, flexible to reconfigure.
-
Rack-supported: Mezzanine integrated into pallet racking upright frames—great for parts picking, but relocation can be trickier.
-
Shelving-supported: Economical for light loads; ideal in order-fulfillment environments.
-
Catwalk systems: Narrow aisles above shelving with grating walkways for high-density picking.
Decking options:
-
Bar grating: Strong, slip-resistant, and allows light/sprinkler water to pass; noisy under carts and less friendly for small-wheel casters.
-
Steel diamond/chequer plate: Durable, good traction; can transmit vibration.
-
Timber/composite boards over steel joists: Quiet, comfortable underfoot; needs moisture management.
-
Concrete on metal deck: Premium stiffness and fire resistance; heavier and slower to install.
Access and edges:
-
Staircases: Straight runs are simplest; switchback stairs save footprint. Add mid-landings for long rises.
-
Gates: Pivot or sliding pallet gates (e.g., “safety swing gates”) allow safe loading/unloading at the edge.
-
Guarding: Guardrails, toe-boards, and kickplates prevent falls and item drop hazards.
Pre-Installation Checklist: Survey, Calculations, and Permits
A smooth installation starts well before a bolt hits the slab.
-
Site survey: Verify clear heights, column obstructions, overhead services (ducts, conduits, sprinklers), floor drains, and door clearances. Laser scan if the environment is tight.
-
Slab assessment: Confirm thickness, reinforcement, and compressive strength. Plan for chemical anchors or expansion anchors as specified by the engineer, and test pull-out where required.
-
Load mapping: Identify what will live upstairs—shelving, cartons, conveyors, offices—and quantify live loads (uniform + point).
-
MEP coordination: Plan lighting under/over the deck, power drops, IT cabling, and any HVAC or sprinkler modifications.
-
Code path & permitting: Prepare drawings, calculations, fire strategy, and egress diagrams for approval.
-
Logistics planning: Staging zones for steel, decking, and fasteners; clear travel paths for lifts; dust/noise controls; weekend or night shifts if the facility is live.
The Installation Sequence: From Delivery to Handover
While details vary by system, the build typically follows a disciplined sequence:
-
Receiving & QA: Check steel members, hardware counts, and coating quality. Lay out components in the order of erection to avoid re-handling.
-
Grid layout & marking: Snap chalk lines for column centers, stair footprints, and pallet gate positions.
-
Column setting: Position columns on shimmed base plates to achieve plumb and level; drill and set anchors to the slab or footings.
-
Primary beams: Lift and bolt beams to columns, working from one corner outwards; maintain temporary bracing until lateral stability is achieved.
-
Joists/secondary members: Install stringers or joists at the specified spacing; torque bolts to spec and verify camber/deflection limits.
-
Decking: Place grating, plate, or board systems; fix per pattern (e.g., every joist or at specified centers). Address transitions, stair landings, and gate insets.
-
Edge protection: Install guardrails, mid-rails, and toe-boards; add pallet safety gates and kickplates at openings.
-
Stairs & egress: Set stair stringers, treads, landings; add compliant handrails and nosings; confirm rise/run geometry.
-
MEP & fire: Mount under-deck lighting, run conduit/cable trays, extend sprinkler lines if required, fit smoke detectors and exit signage.
-
Finishing: Touch-up paint or powder-coat repairs; apply non-slip nosings and floor markings for safe traffic.
-
Inspection & load test: Engineer or building official verifies bolt torque, anchor set, guardrail strength, deflection under test load, and egress compliance.
-
Handover & documentation: Provide as-builts, load rating placards, maintenance instructions, and inspection schedules.
Safety and Fire Strategy: Don’t Treat as an Afterthought
-
Fall protection: Mandate harnesses during edge work; install temporary guard cables before decking large openings.
-
Material handling: Use scissor lifts or forklifts with certified platforms; never “ride the forks.”
-
Hot works control: If welding or cutting is required, enforce permits, fire blankets, and post-work fire watch.
-
Sprinkler shadowing: Solid decks can block sprinkler patterns. Grating helps; otherwise, extend the sprinkler network below and above.
-
Egress resilience: Keep stair runs and gate areas clear; mark travel paths with photoluminescent strips and floor arrows.
Integrations That Supercharge Utility
A mezzanine isn’t just a platform—it can be a process layer. Plan integrations early:
-
Conveyors & chutes from upper pick zones to pack stations.
-
Modular offices on the deck with insulated panels and acoustic control.
-
Pick-to-light and WMS cabling neatly routed under the deck.
-
Edge protection with loading gates sized for standard pallet widths and deck edge bumpers.
-
Vibration-sensitive areas (QC balances, microscopes) isolated with stiffer bays or damping pads.
Cost Drivers and Timeline Realities
While exact numbers vary by market, understand the levers:
-
Load rating & grid: Heavier loads and wider spans increase steel tonnage.
-
Deck type: Concrete on deck raises cost and time; grating is lighter and faster.
-
Stairs & gates: More egress equals more steel and labor—but may be required by code.
-
MEP & fire: Sprinkler modifications and electrical routing add both cost and schedule.
-
Operational constraints: Night or phased installs extend the program but reduce business disruption.
A well-coordinated project can move from permit to handover in weeks, not months, if drawings, approvals, and procurement stay in lockstep.
Maintenance, Inspections, and Upgrades
Treat the mezzanine like any critical asset:
-
Monthly checks: Loose bolts, damaged guardrails, scuffed anchors, deck fastener loosening, and stair nosing wear.
-
Annual review: Load rating compliance versus actual use; any “temporary” storage that became permanent; corrosion touch-ups.
-
Upgrades: Add gates where traffic has grown, install anti-fatigue surfaces in heavy pedestrian zones, and consider under-deck netting in high-drop-risk areas.
Related: Finding and Navigating Elwood & Capper Obituaries
Conclusion
A mezzanine floor installation is one of the fastest, cleanest ways to multiply capacity without multiplying rent. Nail the fundamentals—loads, grid, slab, egress, and fire—then execute a clean install sequence with disciplined safety. Do that, and you’ll convert empty headroom into high-performing square meters that pay for themselves every shift.